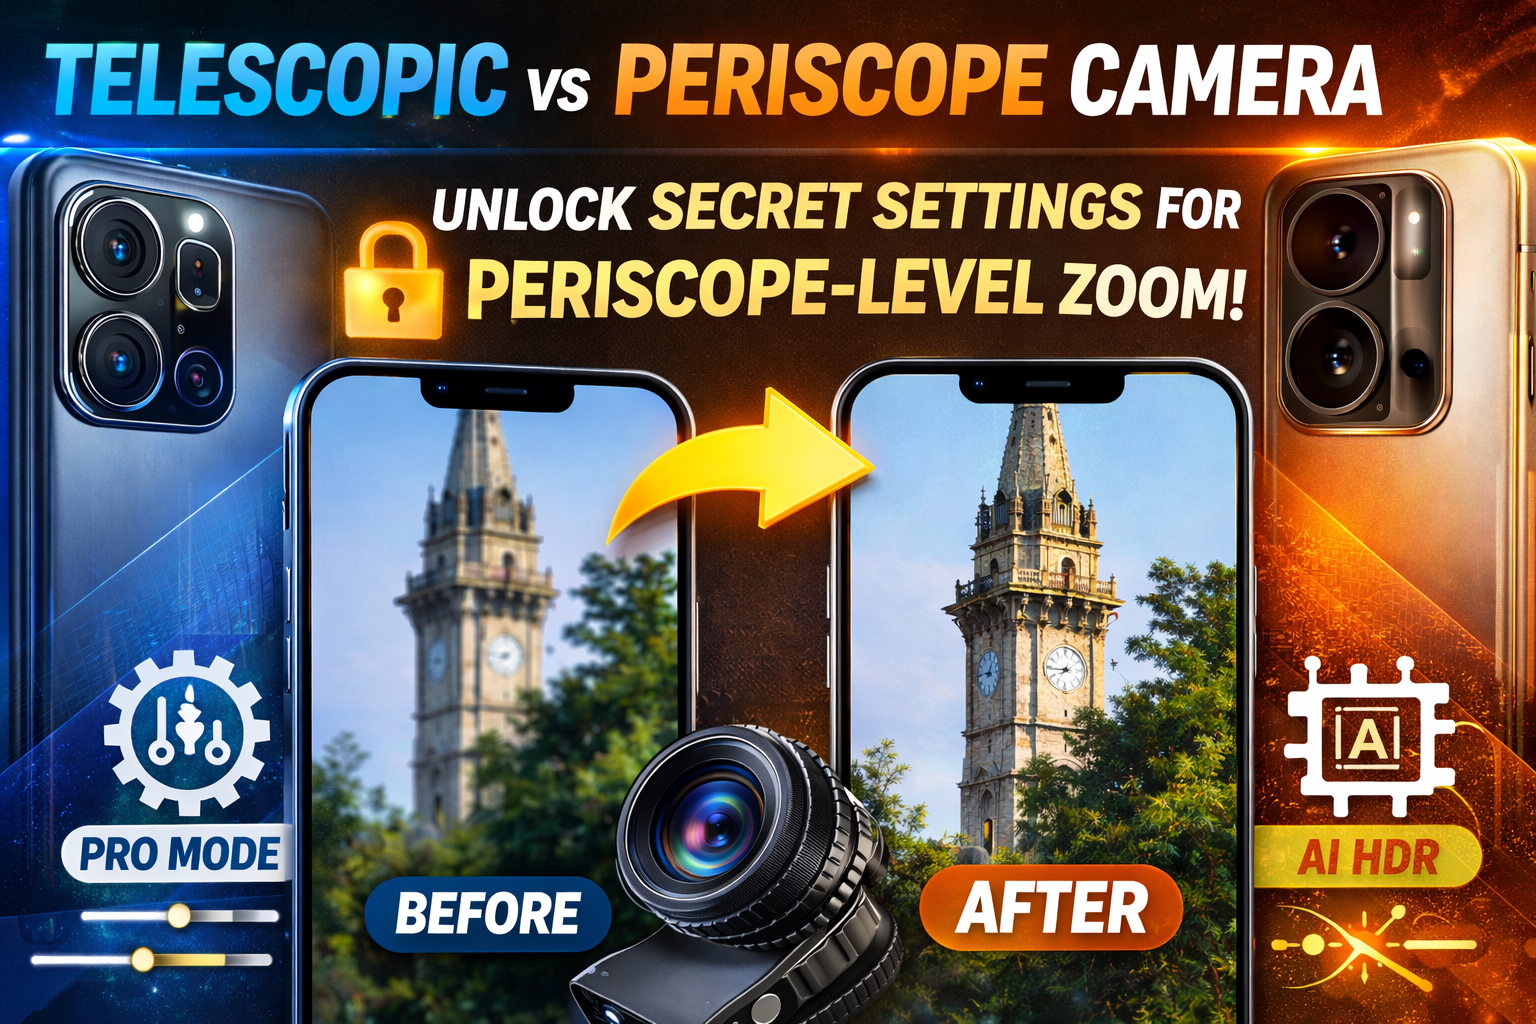
Smartphone camera marketing has trained us to believe one thing:
If you want serious long-distance zoom, you need a periscope lens.
And it’s true — periscope systems have hardware advantages. But here’s the hidden reality:
With the right tuning, lighting, and manual control, a standard telescopic (telephoto) camera can produce results that look surprisingly close to periscope shots.
Most users never unlock that potential.
Let’s break down why periscope zoom looks better — and how to push your telescopic camera to its maximum capability.
🚨 The Core Problem: Why Telescopic Zoom Looks Worse
First, we need to understand the hardware difference.
📷 What Is a Periscope Camera?
Periscope cameras use:
- Folded prism lens design
- Sideways light path inside the phone
- Longer focal length without thicker phone body
- Higher true optical zoom (usually 5x–10x)
Because the lens elements are physically spaced out horizontally, periscope cameras maintain better clarity at longer distances.
They preserve:
- Detail
- Sharp edges
- Texture definition
- Optical compression
📷 What Is a Telescopic (Standard Telephoto) Camera?
Telescopic or standard telephoto lenses:
- Have shorter lens travel
- Typically offer 2x–3x optical zoom
- Rely more on digital cropping beyond that
- Struggle in low light
- Lose texture at higher zoom levels
When users zoom to 5x or 10x on a non-periscope camera, most of that zoom is digital enhancement — not optical magnification.
That’s why:
- Details look softer
- Noise increases
- Edges become artificial
- Colors shift
This leads many to assume telescopic cameras are inferior.
But that’s only partially true.
🔍 The Hidden Truth
A telescopic lens cannot physically match the raw optical reach of a periscope system.
However…
Most disappointing zoom results happen because users:
- Use digital zoom excessively
- Shoot in poor lighting
- Rely on auto mode only
- Ignore stabilization
- Skip post-processing
When used properly, a 3x optical telephoto can produce extremely clean long-distance images.
The key is control.
✅ Step 1: Use Native Optical Zoom Only
This is the most important rule.
If your phone has:
- 2x optical zoom
- 3x optical zoom
Stick to that exact level.
Avoid sliding the zoom bar beyond the native optical range.
Why?
Because once you go beyond optical, the phone:
- Crops the image
- Enlarges pixels
- Adds artificial sharpening
- Introduces digital artifacts
To maximize real detail:
✔ Tap the preset optical zoom button
✔ Lock focus on your subject
✔ Keep your hands steady
Even small movements at zoomed distances cause blur.
Pro tip: Use burst mode to capture multiple frames and pick the sharpest one.
⚙️ Step 2: Switch to Pro Mode (This Changes Everything)
Auto mode prioritizes exposure and brightness.
Pro mode prioritizes control.
When shooting zoomed photos, manual adjustments dramatically improve clarity.
Here’s how to set it:
📌 ISO – Keep It Low
In daylight:
Set ISO between 50–100.
Higher ISO introduces noise, which becomes extremely visible in zoom shots.
Low ISO = cleaner image = sharper detail.
📌 Shutter Speed – Avoid Motion Blur
Zoom magnifies movement.
Use a shutter speed fast enough to prevent blur:
- 1/250 or faster for handheld shots
- Faster if subject is moving
Even slight hand shake can destroy zoom clarity.
📌 Manual Focus – Lock It
Auto-focus sometimes hunts at long distance.
Switch to manual focus and:
- Slowly adjust until edges appear crisp
- Lock focus before capturing
This alone can improve sharpness noticeably.
📌 White Balance – Keep It Natural
Auto white balance sometimes shifts colors aggressively.
Set a natural tone manually to prevent oversaturation.
This helps maintain realistic periscope-style color science.
🧠 Step 3: Enable AI + HDR Together
Many people think AI processing reduces quality.
But when used correctly, it enhances detail.
Turn on:
✔ AI Scene Optimization
✔ HDR
✔ Detail enhancement
Why this helps:
- HDR preserves highlight and shadow detail
- AI enhances micro-contrast
- Edge detection improves perceived sharpness
Modern computational photography can simulate some depth and texture layering similar to periscope systems.
It won’t change the lens — but it improves output quality.
🌞 Step 4: Lighting Is Everything
Periscope lenses perform better partly because they allow more controlled light travel.
Telescopic lenses struggle more in low light.
If you want periscope-like results:
✔ Shoot in bright daylight
✔ Avoid heavy zoom at night
✔ Keep sun behind you
✔ Stabilize the phone
More light means:
- Lower ISO
- Less noise
- Better edge definition
- Improved dynamic range
In low light, telescopic cameras degrade quickly.
In strong daylight, the gap narrows significantly.
📸 Step 5: Stability Is Non-Negotiable
Zoom exaggerates motion.
Even micro hand tremors become visible.
For best results:
- Use a tripod
- Rest your elbows on a stable surface
- Lean against a wall
- Use a 3-second timer
Stability alone can make your 3x shot look dramatically sharper.
Periscope cameras benefit from internal stabilization — but you can compensate manually.
🔍 Step 6: Light Post-Processing (The Smart Way)
Periscope shots often look sharper because manufacturers apply strong tuning.
You can replicate this subtly.
After taking your photo:
✔ Slightly increase texture
✔ Apply mild sharpening (don’t overdo it)
✔ Reduce noise gently
✔ Adjust contrast subtly
✔ Fine-tune highlights
Avoid extreme clarity sliders — they create halos.
The goal is:
Natural crispness, not artificial sharpness.
Small adjustments go a long way.
🛠️ Optional Upgrade: Clip-On Telephoto Lens
If you want to push further:
Use a high-quality clip-on telephoto lens attachment.
Benefits:
- Extends optical reach physically
- Reduces reliance on digital zoom
- Improves magnification realism
But quality matters — cheap attachments reduce clarity.
🔄 Keep Firmware Updated
Camera processing algorithms improve over time.
Manufacturers often refine:
- Zoom sharpening
- Noise reduction
- HDR stacking
- AI edge detection
Regular updates can improve telephoto performance without hardware changes.
⚠️ Reality Check
Let’s be clear:
A telescopic lens cannot fully replace true periscope hardware.
Periscope systems physically offer:
- Longer focal length
- Better compression
- Superior long-range clarity
However…
With correct technique:
- Optical-only zoom
- Pro mode tuning
- Stable shooting
- Good lighting
- Smart editing
You can achieve surprisingly close visual results.
In many social media uses, the difference becomes almost unnoticeable.
🧠 The Bigger Lesson
Camera performance isn’t just hardware.
It’s:
- Light
- Stability
- Settings
- Processing
- Technique
Most users judge telescopic cameras based on auto mode digital zoom results.
That’s not a fair comparison.
When optimized properly, telescopic cameras can deliver powerful long-range shots that feel premium.
📌 Final Thoughts
Periscope cameras are powerful.
But telescopic lenses are often underestimated.
If you:
✔ Stick to optical zoom
✔ Use Pro mode
✔ Keep ISO low
✔ Shoot in good light
✔ Stabilize carefully
✔ Apply subtle post-processing
You’ll unlock performance most users never see.
The hardware difference remains.
But the visual gap?
Much smaller than people think.
And once you master these hidden settings, your zoom photography will never look the same again. 📷✨
Leave a Reply