How to Force Update Meta Quest 3 Easily (Manual Recovery Method)
If you own a Meta Quest 3, you probably know that the headset usually updates automatically when new software is released. However, sometimes the update does not appear on your device even though other users have already received it. This situation can be frustrating, especially if the latest update contains important bug fixes, performance improvements, or new features.
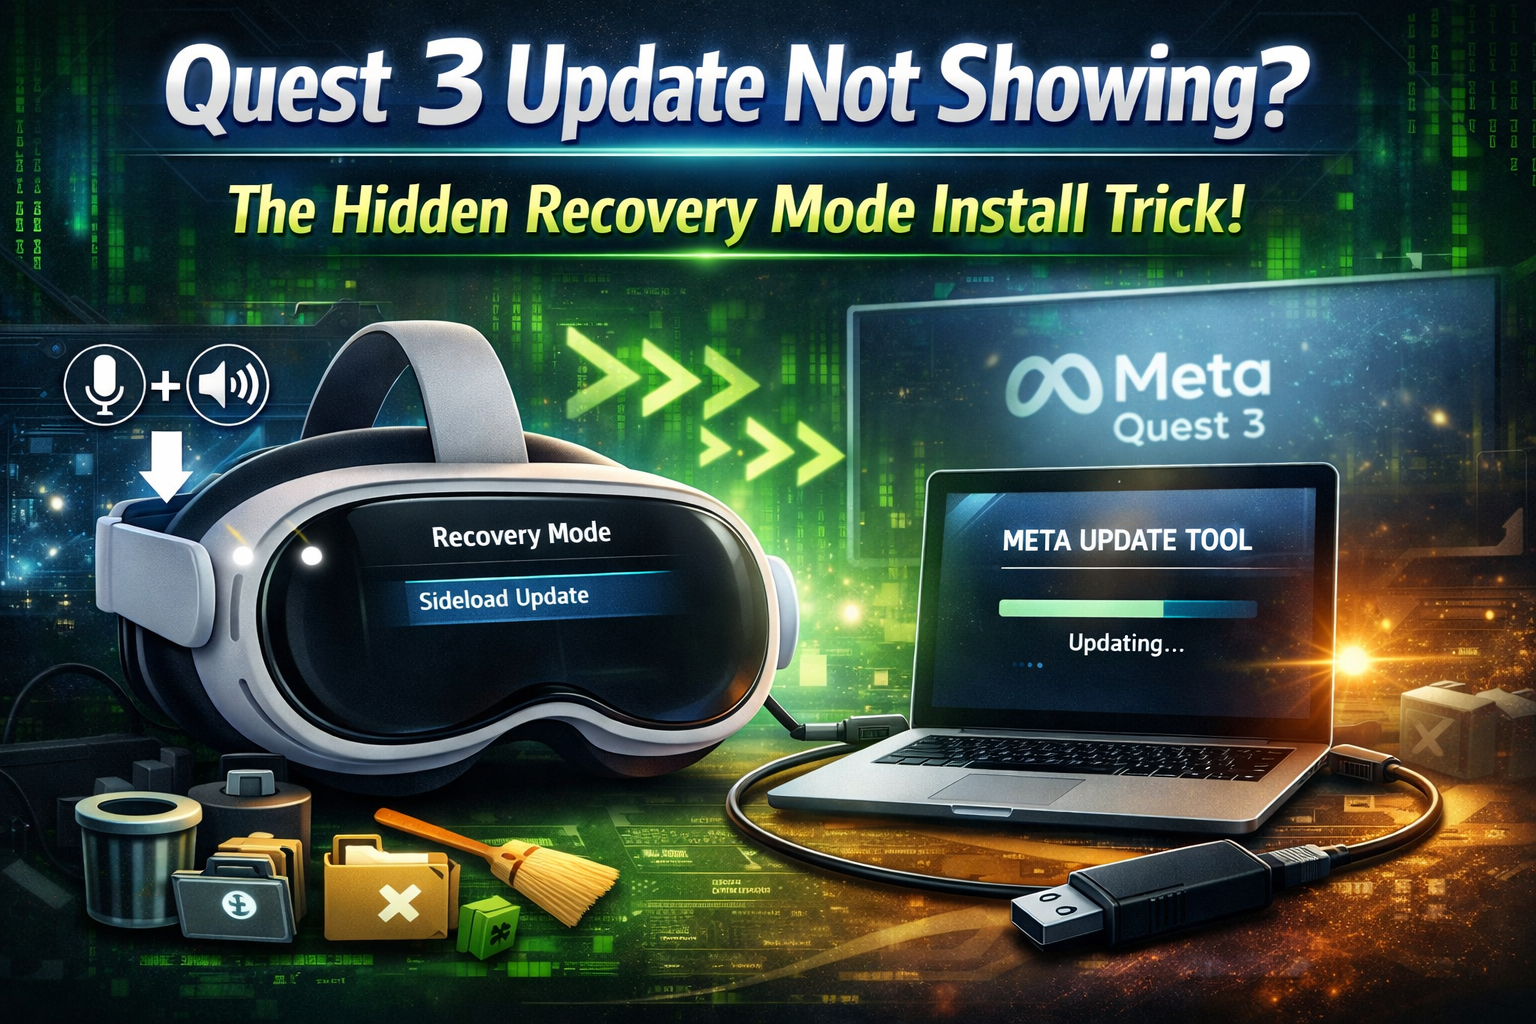
Fortunately, there is a simple solution. Instead of waiting for the update to arrive automatically, you can force update your Meta Quest 3 manually using the official software update tool from Meta. This method uses recovery mode and a USB connection to install the latest firmware directly from Meta’s servers.
In this guide, you will learn step-by-step how to force update your Meta Quest 3 safely. You will also discover a few additional tips that many users don’t know, including how to manage storage space and clear unnecessary cache files to keep your headset running smoothly.
Why Your Meta Quest 3 May Not Receive Updates
Software updates on the Meta Quest platform are usually released in phases. This means not every headset receives the update at the same time. Even if a new firmware version has been announced, your headset might take several days or weeks to receive it.
There are several reasons why this happens:
- The update is being rolled out gradually to avoid server overload.
- Your headset may not have checked for updates recently.
- Network or software glitches may delay the update process.
When this happens, the manual update method can help you install the latest firmware immediately without waiting for the automatic update system.
Step 1: Shut Down and Boot Meta Quest 3 in Recovery Mode
The first step is to boot your headset into recovery mode, which allows you to access advanced system options.
Start by powering off your Meta Quest 3 completely.
- Press and hold the Power button for about 5 seconds.
- Wait until the headset screen turns completely black and the device shuts down.
Once the headset is powered off, you need to enter recovery mode.
To do this:
- Press and hold Power + Volume Down buttons together.
- Continue holding both buttons for a few seconds.
- Release them when the screen turns on.
After this step, the recovery mode menu will appear on the headset display. This menu provides several system options used for troubleshooting and maintenance.
Step 2: Select the Sideload Update Option
When recovery mode appears, you will see multiple options on the screen. These options usually include:
- Boot Device
- Device Info
- Factory Reset
- Sideload Update
- Switch Boot Slot
- Power Off
Use the Volume Down button to navigate through the menu.
Scroll until you find the “Sideload Update” option.
Once the option is highlighted, press the Power button to select it.
After selecting this option, the headset screen may turn completely black. At the top corner of the headset, you might notice a small blinking indicator light. This light usually indicates that the device is now ready to receive a firmware update through USB.
At this stage, the headset is prepared for a manual update installation.
Step 3: Force Update Meta Quest 3 Using a Computer
Now it’s time to install the update using a computer.
First, connect your Meta Quest 3 to your laptop or desktop computer using a USB cable.
Next, open a browser on your computer. Most modern browsers support the official update tool provided by Meta.
Follow these steps:
- Open your browser and search for Meta Software Update Tool.
- Click the official Meta website link.
- Select your headset model — in this case Meta Quest 3.
Once you select the device, the page will display information about the update process and the firmware version available.
It is recommended that you read the terms and conditions and also check what new features or improvements are included in the update.
After reviewing the information:
- Click Connect Device.
- The tool will detect your Meta Quest headset automatically.
- Confirm the device connection.
When the device is recognized, you will see an option to Start Download.
Click the Start Download button.
The update file will begin downloading to your computer. This process usually takes only a few minutes depending on your internet speed.
Once the download is complete, the tool will automatically begin installing the update on your headset.
During installation, be patient and avoid disconnecting the USB cable. Interrupting the process could cause software errors.
After the installation finishes successfully, your Meta Quest 3 will automatically reboot.
Once the device starts again, you can go to the system settings and check for updates to confirm that the new firmware version has been installed.
How to Manage Storage Space on Meta Quest 3
Many users do not realize that storage management can improve the performance of the headset.
Over time, apps, games, screenshots, and downloaded content can fill the internal storage of your device.
To check your storage usage:
- Open Settings on your Meta Quest headset.
- Go to Storage Management.
- Review the apps and files that are using the most space.
If you notice apps that you rarely use, uninstalling them can quickly free up storage.
You can also delete unnecessary screenshots, recordings, or old game files to keep your system running efficiently.
Maintaining enough free storage ensures that future software updates install smoothly.
How to Clear Cache on Meta Quest
Another useful trick that many users overlook is clearing temporary cache data.
Cache files are temporary data created by apps to speed up loading times. However, when too many cache files accumulate, they can slow down the system or cause minor glitches.
To reduce unnecessary cache buildup:
- Restart your headset regularly.
- Close unused apps running in the background.
- Remove apps that you no longer use.
If performance issues continue, restarting the headset can refresh system processes and remove temporary files automatically.
Final Wrap-Up
The Meta Quest 3 is a dynamic platform that evolves with every software patch. To fully utilize its power, you shouldn’t have to wait for a rolling update to reach your region. Utilizing the sideload update method via recovery mode allows you to stay current with the latest official firmware the moment it drops.
Keeping your headset’s storage lean and clearing system cache are equally vital to ensuring these updates install seamlessly. By implementing the manual strategies discussed in this guide, you can resolve “stuck” firmware issues and ensure your Quest 3 is always primed for the next generation of virtual reality experiences.
Leave a Reply